Installing wood-backed padding is an essential step in ensuring safety and enhancing the overall appearance of a sports facility. Whether used in baseball fields, stadiums, or gymnasiums, padded walls provide crucial protection for athletes by reducing impact during play. While there are several methods to install padding, using heavy-duty Z-clips is one of the most effective and reliable techniques. This system ensures a secure attachment while allowing for easy removal when maintenance or replacement is required.
The Z-clip installation method is popular due to its ability to create a seamless and professional look. The interlocking mechanism of the clips provides strong support, keeping the padding firmly in place while preventing unnecessary movement. Additionally, this method is ideal for facilities that require periodic upgrades, as panels can be easily removed and reinstalled without causing damage to the wall or fencing structure. In this guide, we will walk you through the necessary materials, preparation, and step-by-step installation process for mounting wood-backed padding using Z-clips.
Materials Needed
- Wood-backed padding panels
- Heavy-duty Z-clips
- Mounting hardware (screws suitable for your wall or fence material)
- Measuring tape
- Level
- Drill or screwdriver
Installation Steps
Preparation
Begin by measuring the total width and height of the area where the padding will be installed to determine the number of panels and Z-clips required. Use a measuring tape to mark the exact placement of each padding panel, ensuring an even distribution across the surface. If installing on a chain-link fence, consider adding plywood backing to create a stable mounting surface for the Z-clips. Ensure that the wall or fence is clean, dry, and free of dust, dirt, or protruding objects that could interfere with the padding installation. If necessary, reinforce weak areas of the fence or wall with additional support brackets to prevent shifting or warping over time. Proper planning at this stage will help prevent misalignment issues and ensure a professional-looking final result.
Mounting Z-Clips to the Wall or Fence
Use a chalk line or laser level to mark a straight guideline for the top edge of the padding panels on the wall or fence. Position the female side of the Z-clip (the side that will attach to the wall) along this guideline, ensuring it is level and evenly spaced across the entire length of the installation area. If mounting to a concrete wall, use a power drill with masonry bits to create pilot holes before securing the Z-clips with concrete anchors. For wood or metal surfaces, self-tapping screws or wood screws should be used to ensure a strong hold. Space the Z-clips approximately 12 to 16 inches apart for optimal support, adjusting based on panel size and expected impact level. Before proceeding to the next step, confirm that all Z-clips are securely fastened and aligned to prevent uneven panel installation.
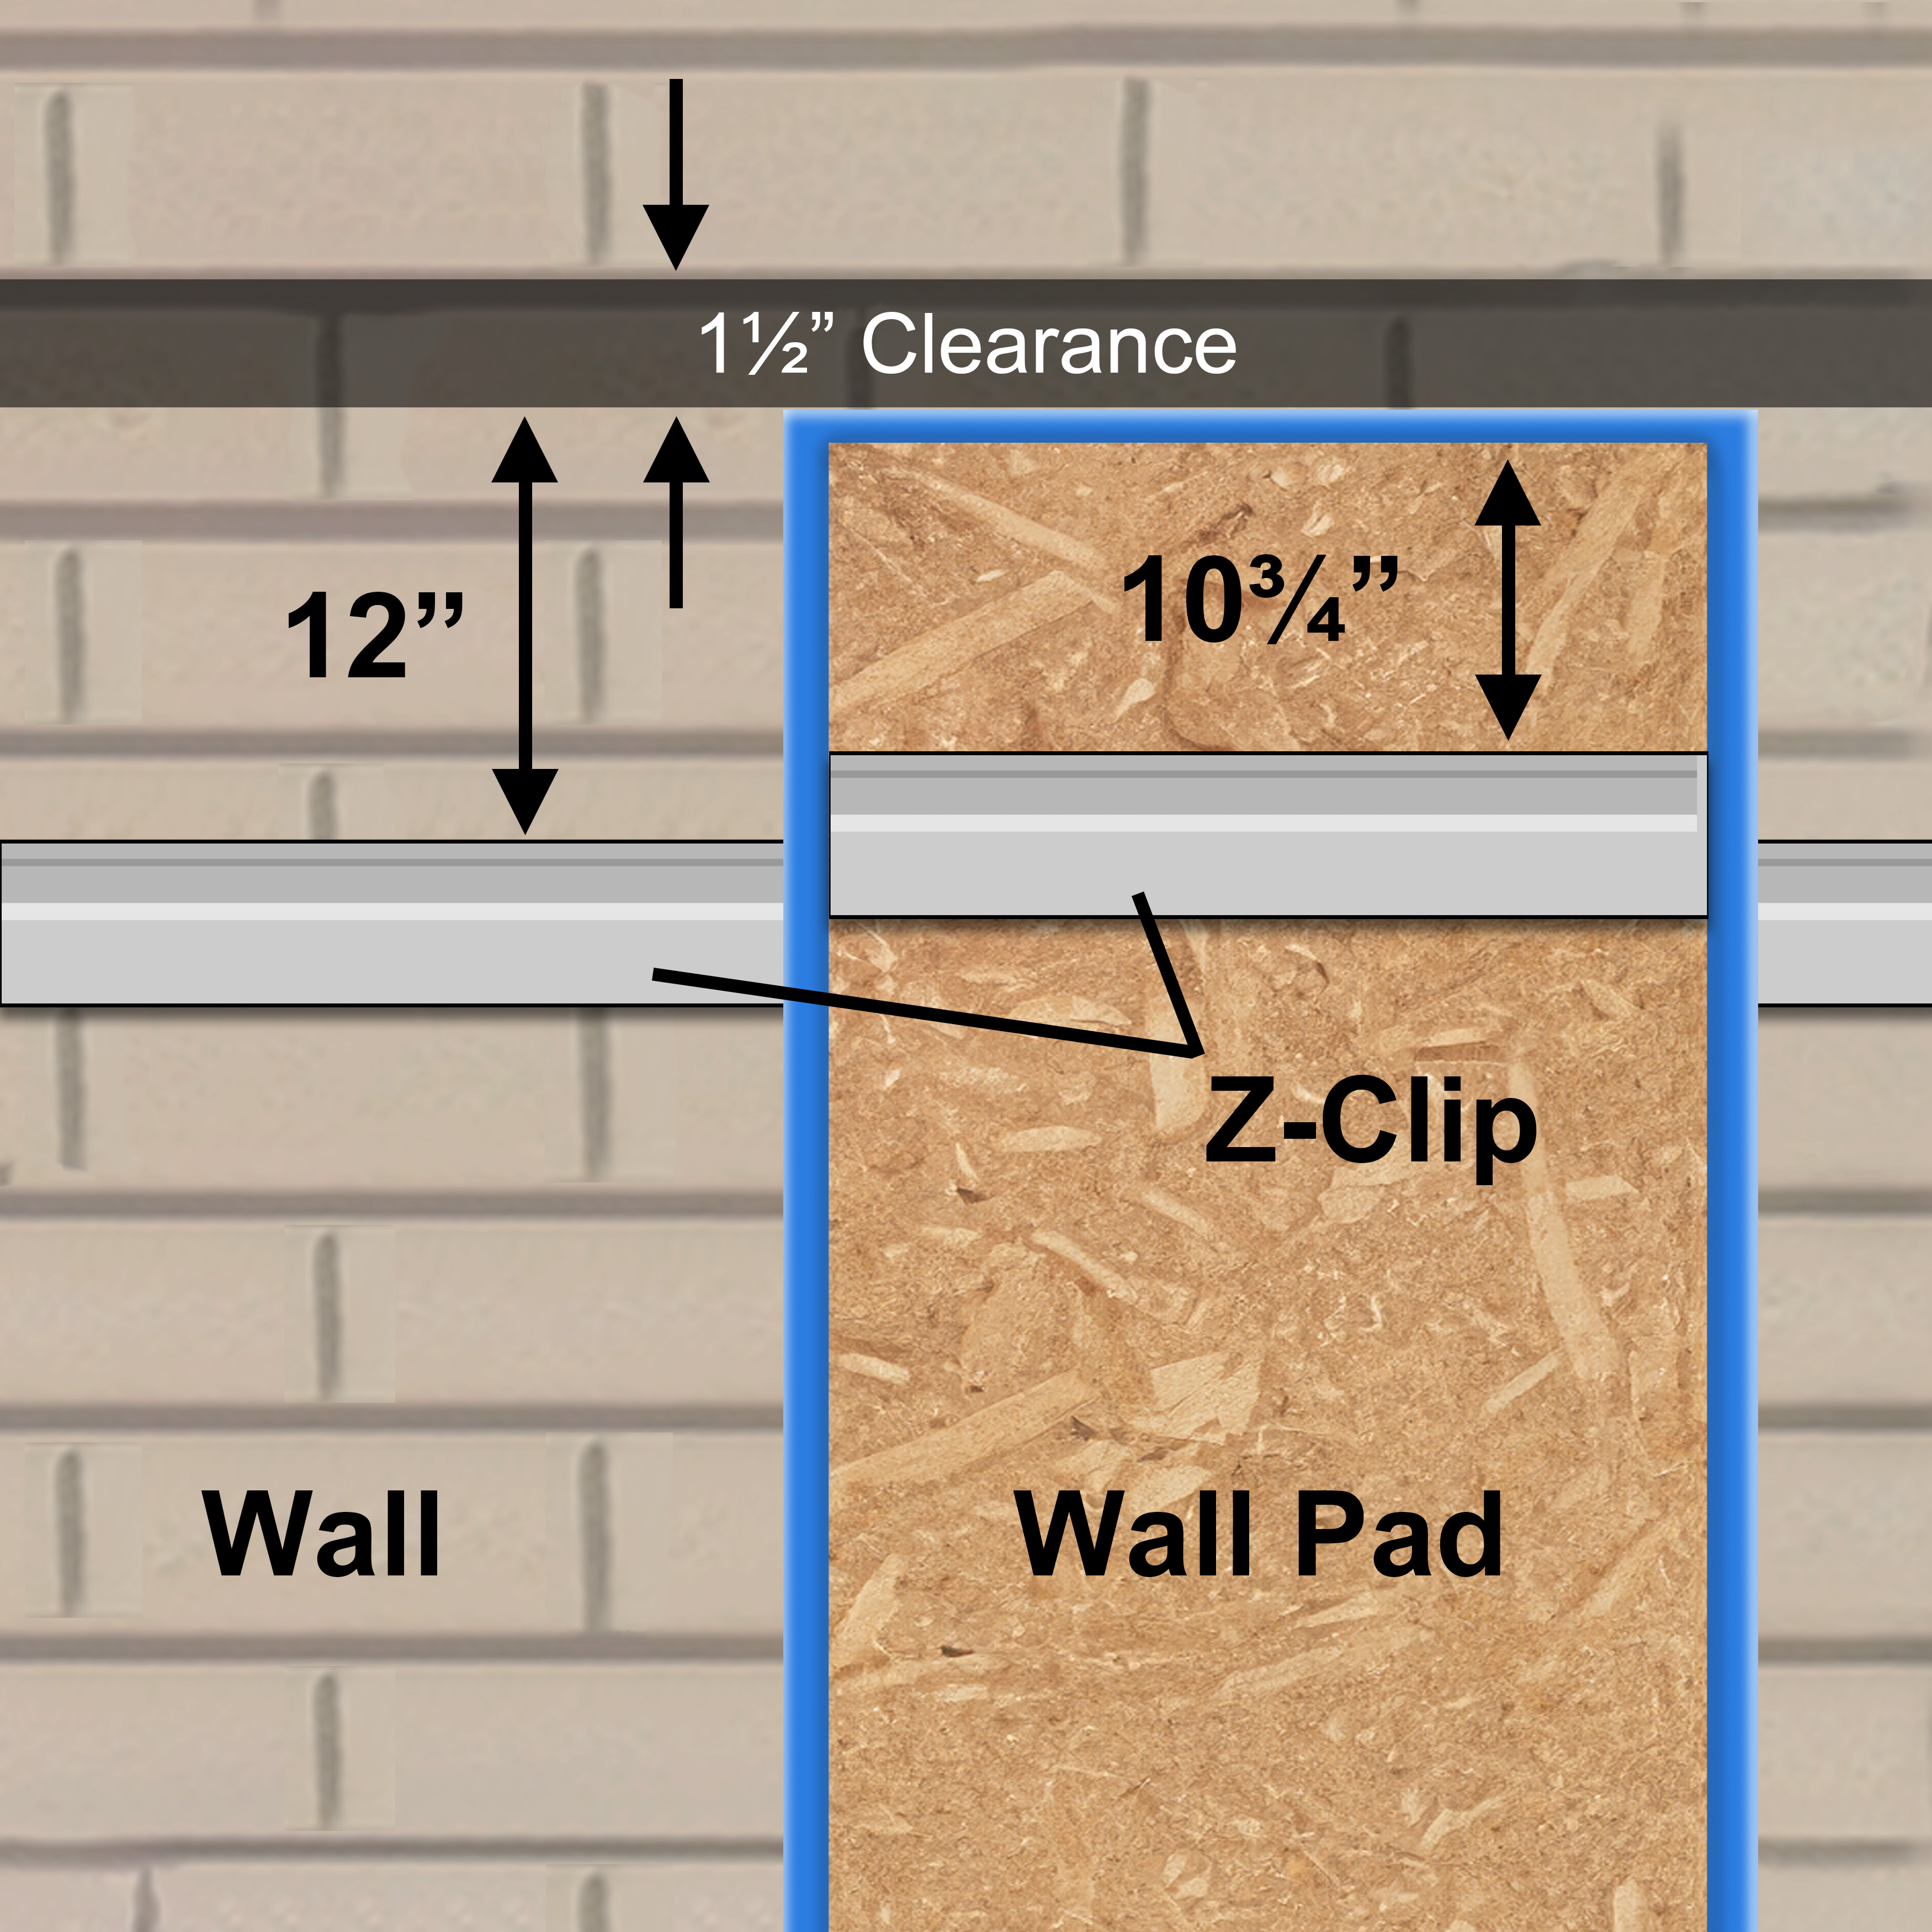

Attaching Z-Clips to Padding Panels
Lay the padding panels face-down on a clean, flat surface. Using a measuring tape and pencil, mark the placement of the male side of the Z-clips on the back of each panel, ensuring they align precisely with the previously installed wall-mounted clips. Attach the male Z-clips to the panel using screws that are appropriate for the panel’s wood backing—galvanized or stainless steel screws are recommended for outdoor applications to prevent rust and corrosion. If working with larger or heavier panels, consider adding additional Z-clips for increased stability, particularly in high-traffic or impact-prone areas. Double-check that the male Z-clips are installed evenly and parallel to ensure a smooth fit when mounting the panels onto the wall.
Installing the Padding Panels
With the help of an assistant, carefully lift the padding panel and align the male Z-clips on the panel with the female Z-clips attached to the wall. Start by engaging the top clips first, then gently lower the panel into place until it locks securely. Apply slight pressure to ensure the clips are fully engaged and the panel sits flush against the wall. If a panel does not fit properly, remove it and adjust the Z-clip alignment before reinstalling. For installations where multiple panels are being used side-by-side, check for uniform gaps and make any necessary adjustments before securing the next panel. Once all panels are installed, test their stability by applying moderate pressure to confirm they are locked in place.
Additional Tips
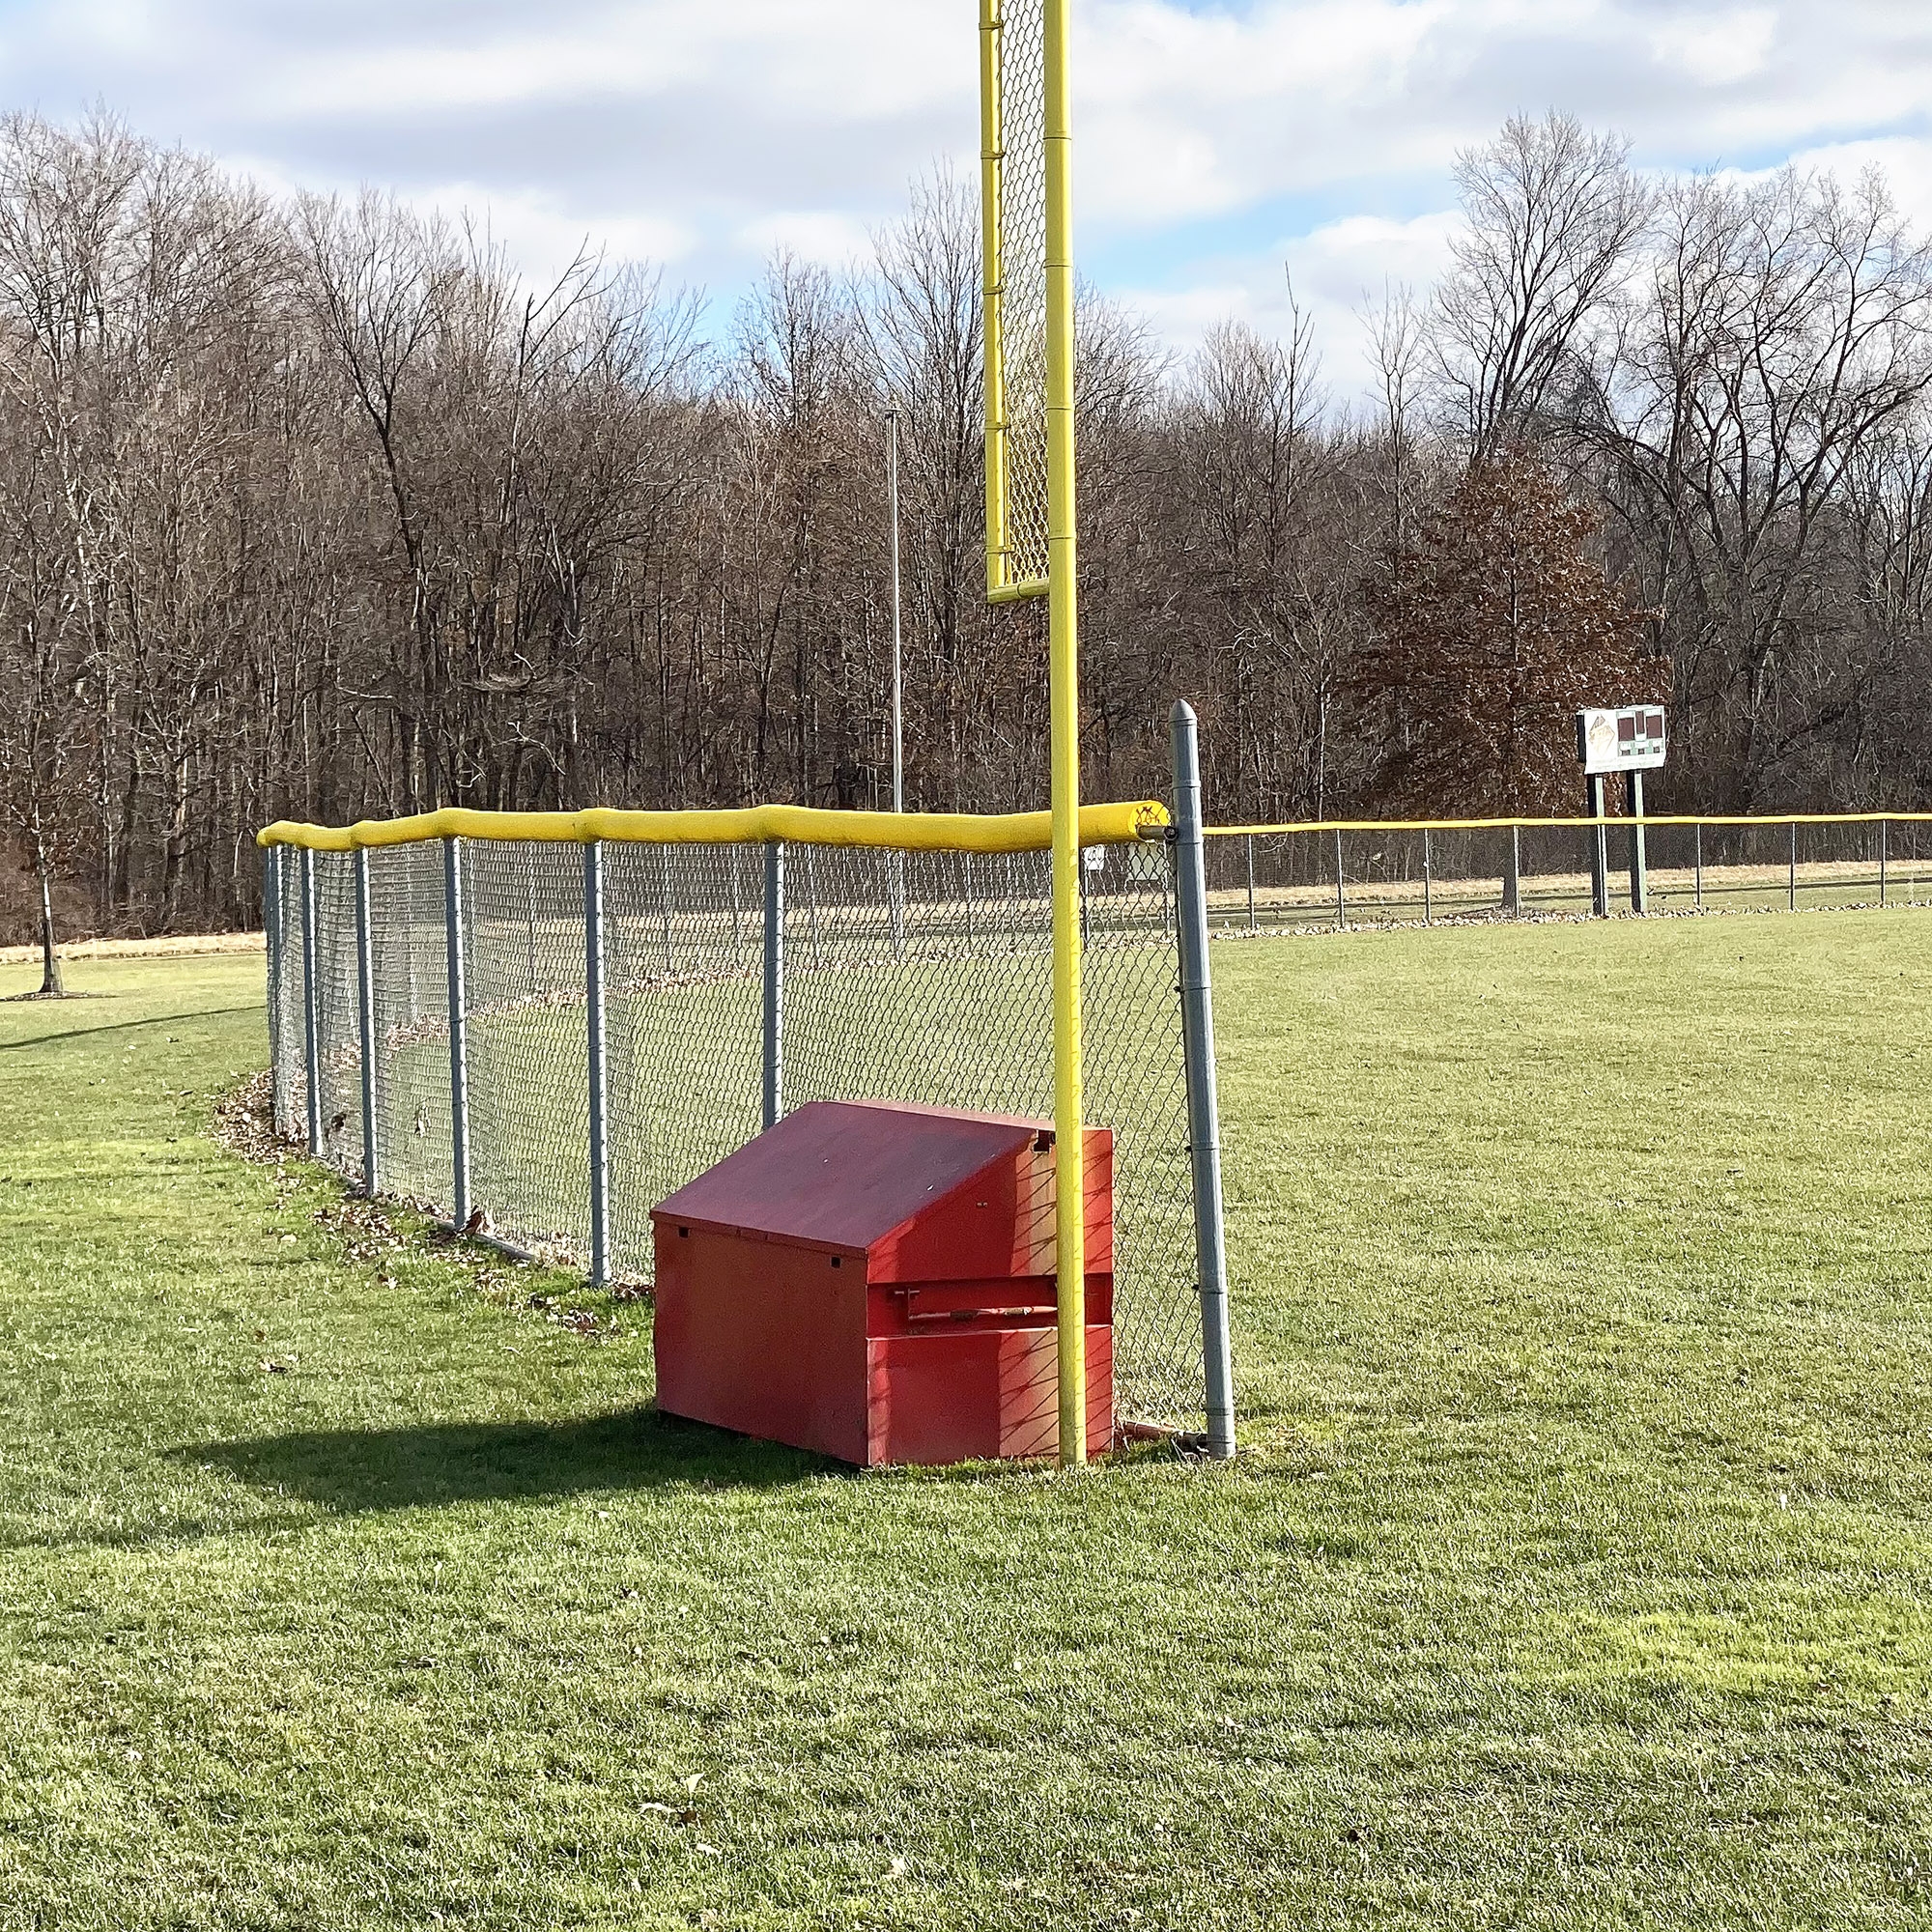
For outdoor installations, ensure all materials, including screws and Z-clips, are rated for exterior use to prevent rust and weather-related damage. If installing padding on a chain-link fence, consider using zip ties or additional support brackets at the bottom of the padding to minimize movement. Regularly inspect the padding and Z-clips for signs of wear or loosening, tightening any hardware as needed to maintain a secure fit. In high-impact areas such as baseball backstops or outfield fences, adding extra fasteners or reinforcing the backing can help prolong the padding’s lifespan. A well-maintained padding system will not only provide long-term safety but also contribute to a professional and polished look for your facility.
Contact Us
Need more help with your Padding Installations? Need help finding out what kind of padding is right for you? Well Baseball Fence Store has you covered! From Custom Printed WindScreens to Portable Fences, we have all of the right solutions for you. Get in touch with our expert team to get your order started today!
Contact Us